Tattoo Tutorial
Painting Textures
Painting Textures in 3D Space
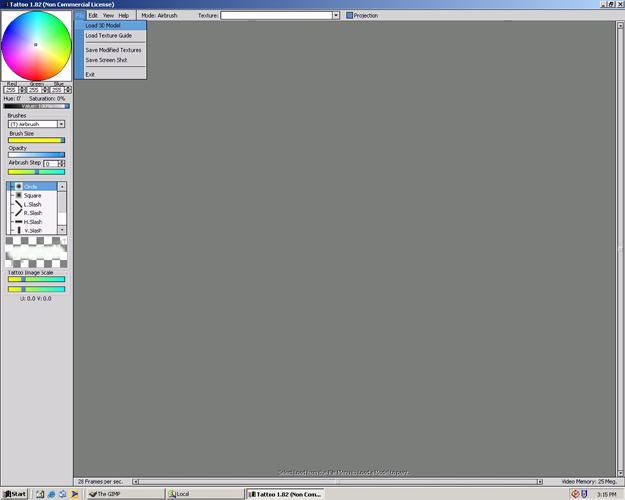
Step 01
Tatoo is one of the few freeware 3d painter programs.The advantage of this program is that you can paint textures directly on the surface of the model. Although the painting tools are not highly advanced, you can still do basic painting and paint seams easily. To open an Wavefront OBJ model that has already been UV Mapped, select File>Open 3D Model.
Step 02
Select the desired file and press open.
Step 03
Now the model will appear. Also on the model there will be a circular object. This cursor is the tool that you use to color the model.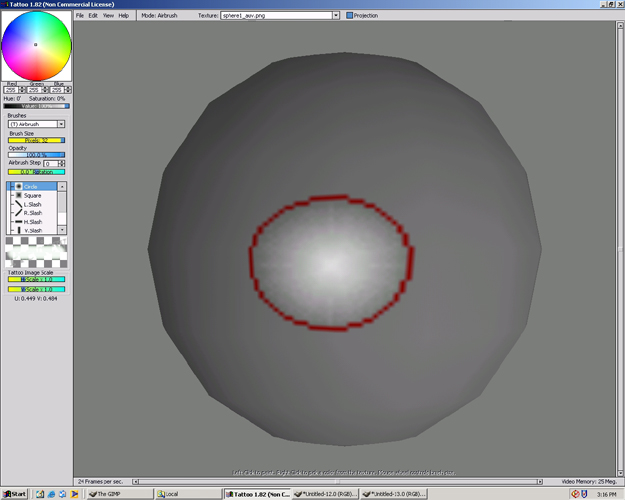
Step 04
Select View>Open Texture View Window. This will open a separate window showing a 2d picture of the texture and uv map.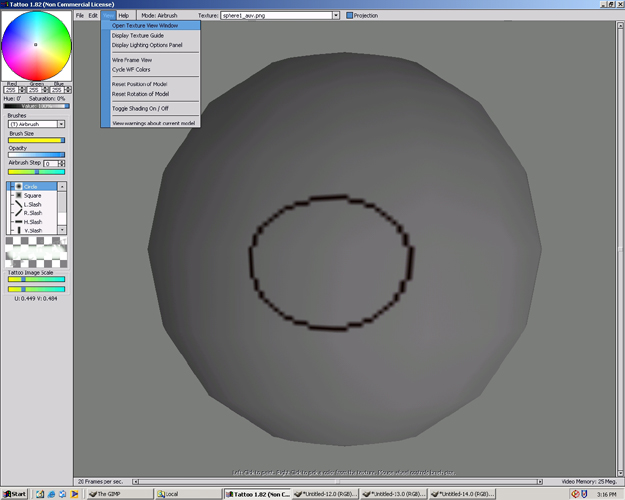
Step 05
Notice you cannot see the uv map yet.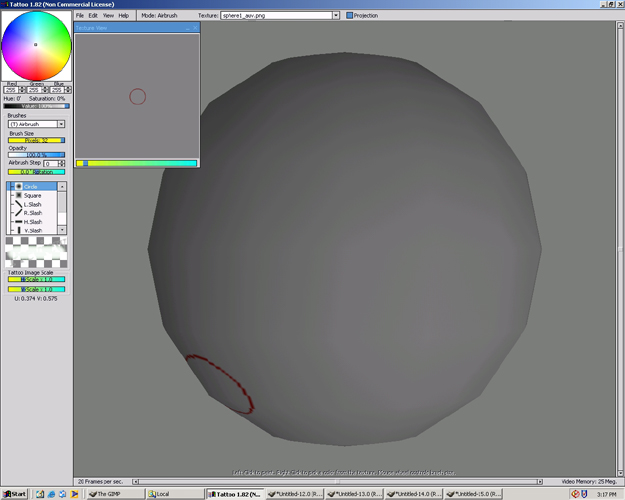
Step 06
Select View>Wireframe View. This will display the uv map and the wireframe on the model. Notice that the quad polygons have been changed to tri polygons. This is only a visual difference. It will not affect the model or the uv map.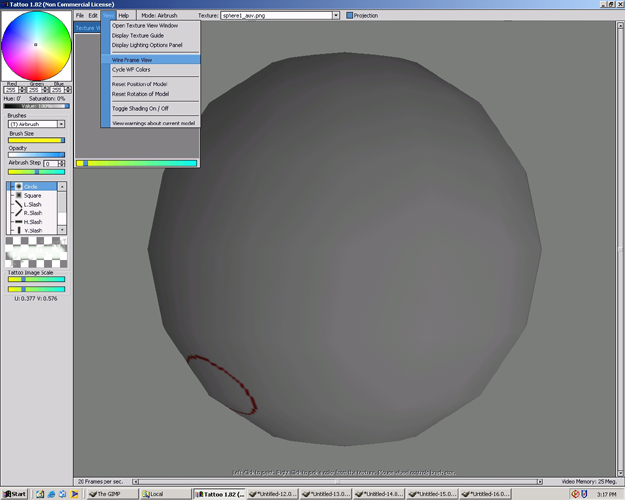
Step 07
Now when you paint you can see the actual model map corresponding to the uv map in the Texture View Window.
Step 08
Use the arrow keys or the right or bottom Scrollbars to rotate the model. The model has been moved to the top and painted there.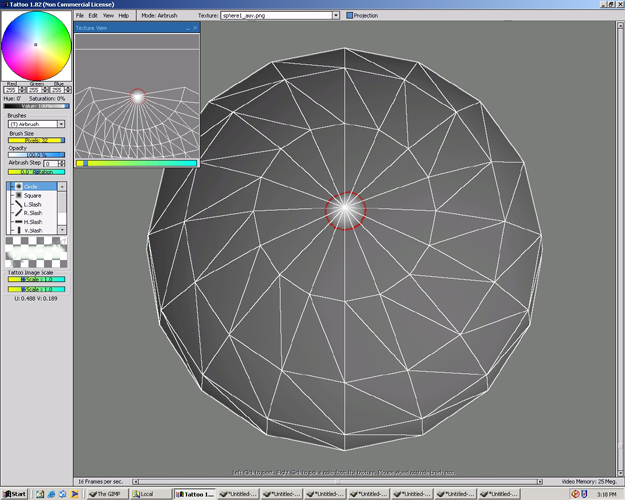
Step 09
Paint down the model a little to see where to paint on the model shows on the uv map.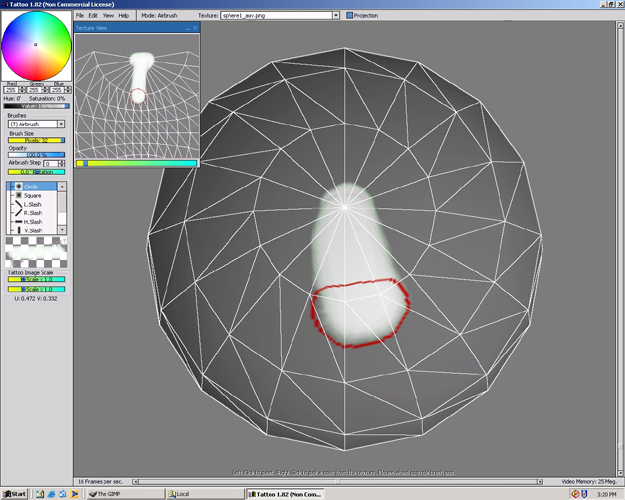
Step 10
Now the paint brush tool is on a seam. Paint a little on this seam. The seam is part of the uv map where the map ends but in actuality connects with a corresponding side. Think of a map of the world there is no actual place where the world stops but the map of the world wraps at the ends.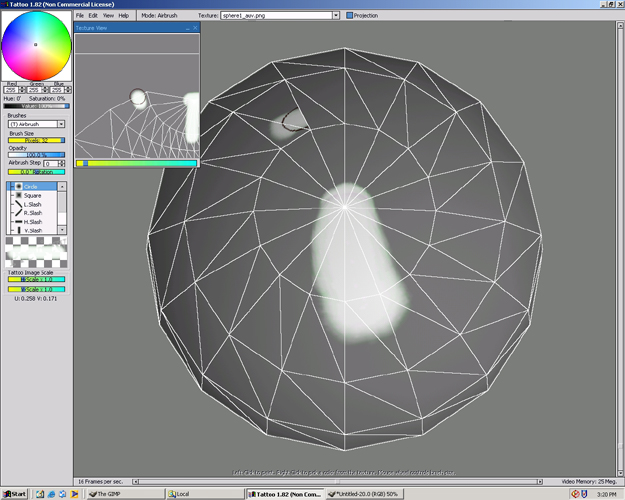
Step 11
By painting a little on the seem you can see where the seams connect.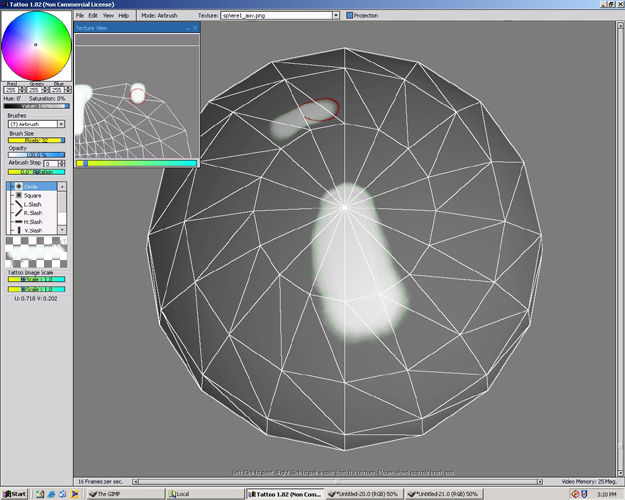
Step 12
In the upper left hand corner is a color picker. Move the square in the middle to a color to paint a different color.
Step 13
Below the color picker is a value bar. The value bar lets you adjust the value of a color.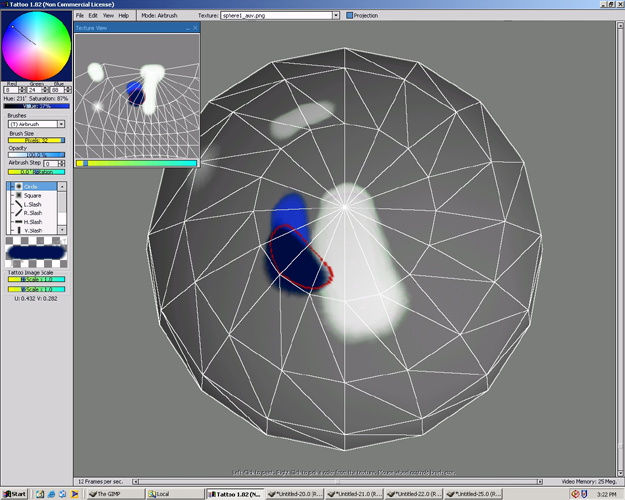
Step 14
Below the Value Bar is a Brushes drop down bar. Just a few selections are Airbrush, Dodge, Burn, Smear.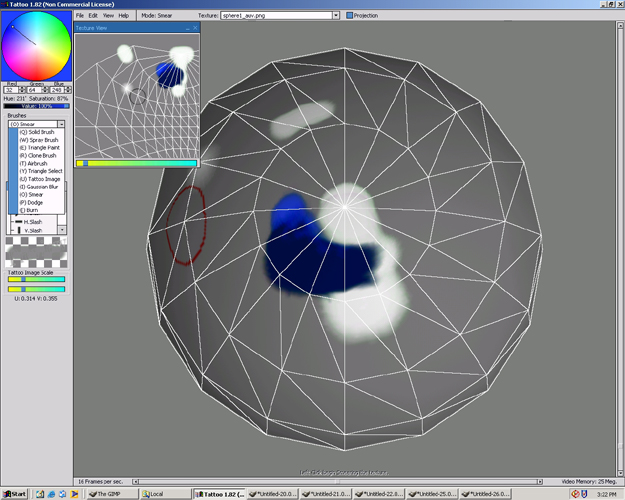
Step 15
Underneath the Brush Size Bar, there is an Opacity Bar. Change the opacity to a very low number(below 10%). Draw over one of the areas already painted.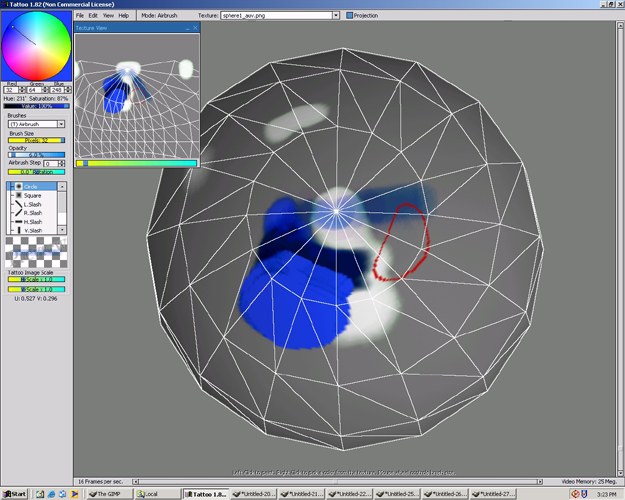
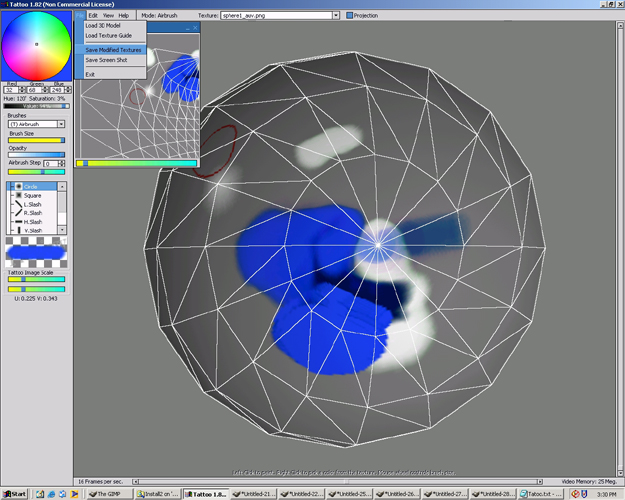
Step 16
Now go to File>Save Modified Textures. The texture will be saved as sphere1_auv.png in the same directory as the model had been saved. The sphere1_auv.png can be edited in other programs such as gimp and repainted in tattoo.